Student printing is available at:
- Library IT Section (Building A, 1st Floor)
- The Junction
- A206 printing room
All printouts are chargeable according to the normal printing rates for students. Reload for the printing account can be done at the Library ServiceDesk Counter. Check current printing rates here.
Printing Driver Installation
- University Printing services are exclusively accessible via the Eduroam WIFI network
- There are 2 separate downloads which are the PaperCut Driver & PaperCut Client
- Both Driver & Client need to be downloaded and installed to use the printing services
Windows OS
Download and Install Driver
- Download the PaperCut Printer Driver installer for Windows.
- Double-click on the printer driver installer to run the installation.
- Select the preferred language and click to accept the Terms & Conditions on the End User License Agreement.
- On the Printer Selection Screen, tick the VQ_Student [MYPAPERCUT1] and click next.
- Enter your Student ID and PC/WIFI password to proceed.
- Click Finish to complete the Driver Installation PaperCut Client Installation.
Download and Install Client app
- Download the PaperCut Client installer for Windows.
- Double-click on the client driver installer to run the installation.
- Click to accept the Terms & Conditions on the End User License Agreement.
- Select the folder to install and click next.
- Select Local Install (For all users) and click next then click Install.
- Tick the ‘Launch client and verify my identity (Recommended)’ check box and click Finish.
- A Login prompt box will pop up, Enter your Student ID and PC/WIFI Password.
- A screen will pop up on your right side of the monitor showing your printing credit balance.
MacOS
Download and Install Driver
- Download the PaperCut Printer Driver installer for MacOS.
- Double-click on the printer driver installer to run the installation.
- On the introduction tab, click continue.
- On the Licence tab, click continue and agree to the licensing.
- Click Install and key in your Mac login password.
- Once finished, you may check on your Printer tab and look for VQ_Students.
- PaperCut Client Installation.
Download and Install Client app
- Download the PaperCut Client installer for Mac.
- Open the folder and double-click on the papercut client installer (client-local-install.app) to run the installation.
- On the introduction tab, click continue.
- On the Licence tab, click continue and agree to the licensing.
- Click install and key in your Mac login password.
- A screen will pop up on your right side of the monitor showing your printing credit balance.
How to Print
Print from personal device
- Install the Printer Driver on your device.
- Select the VQ_Students as the device when printing from any application.
- Select ‘Print’.
- Enter your student credentials to associate your document with your student account.
- Go to any student printer or MFD.
- Login and select the ‘Print All’ button in the top right-hand corner, OR select the specific job to release.
Print from Web Print – Only A4 size PDF & Pictures Files
- Login to the Web Print portal – http://mypapercut1/user
- Select ‘Web Print’ on the side navigation menu.
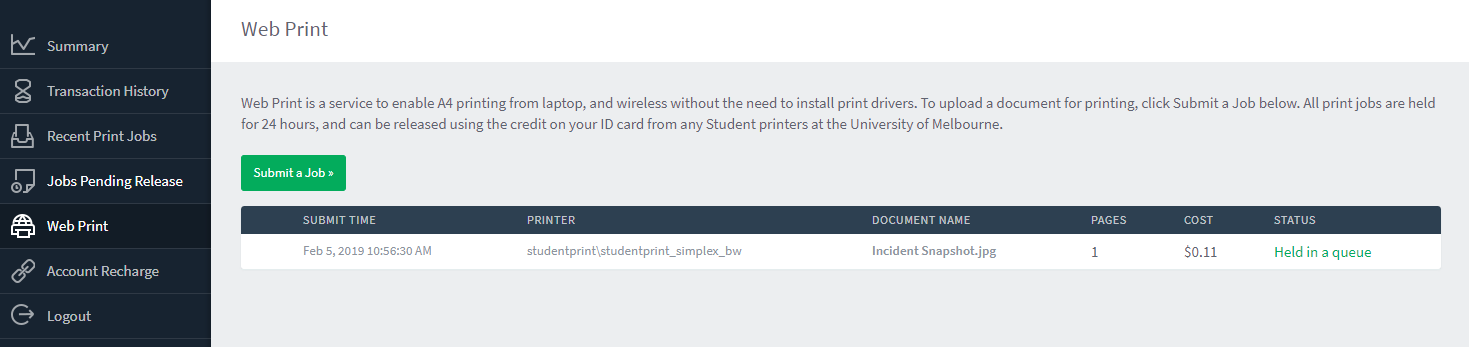
- Select ‘Submit a Job’.
- Specify the number of copies.
- Select ‘Upload Documents’.
- Select ‘Upload from computer’ or drag the files to the box.
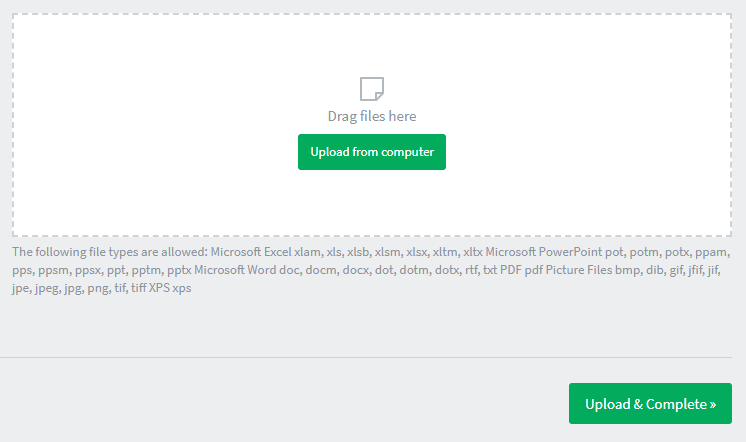
- Select ‘Upload & Complete’.
- Go to any student printer or MFD.
- Enter your student credentials and select the ‘Print All’ button in the top right-hand corner, OR select the specific job to release.
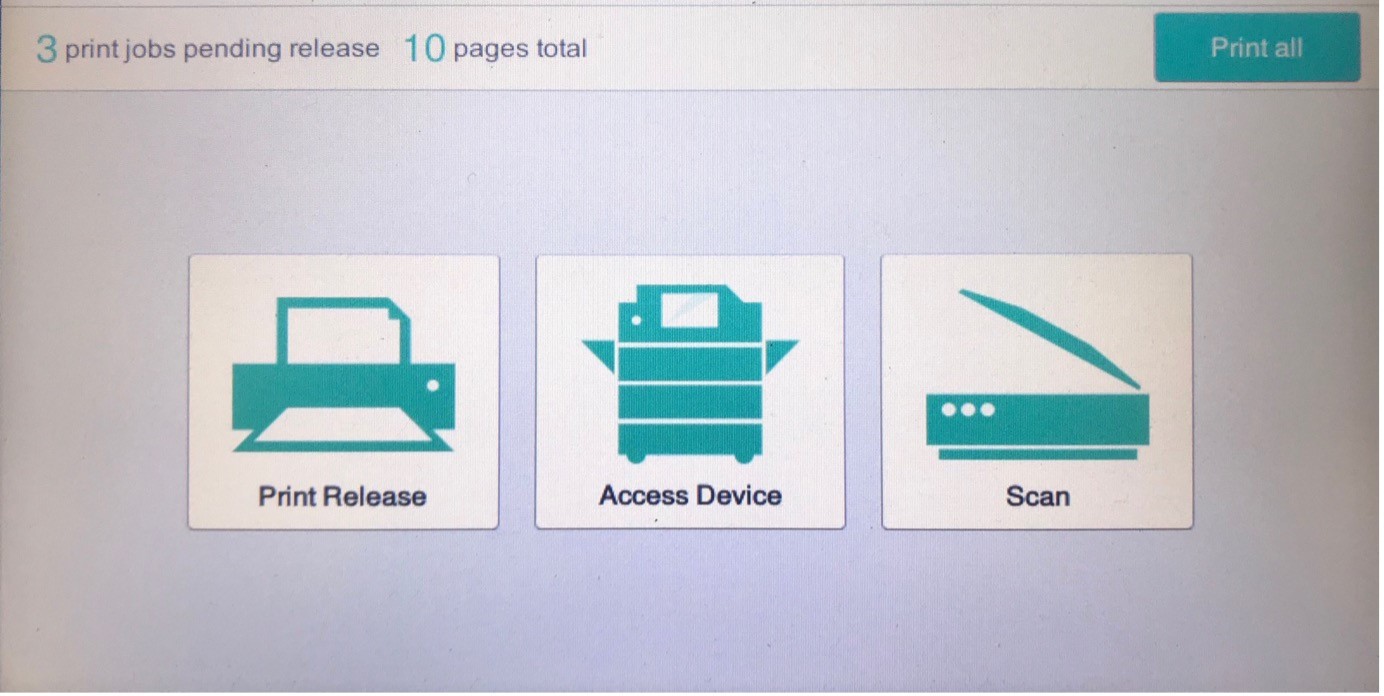
Print Release
- After logging in, select ‘Print Release’.
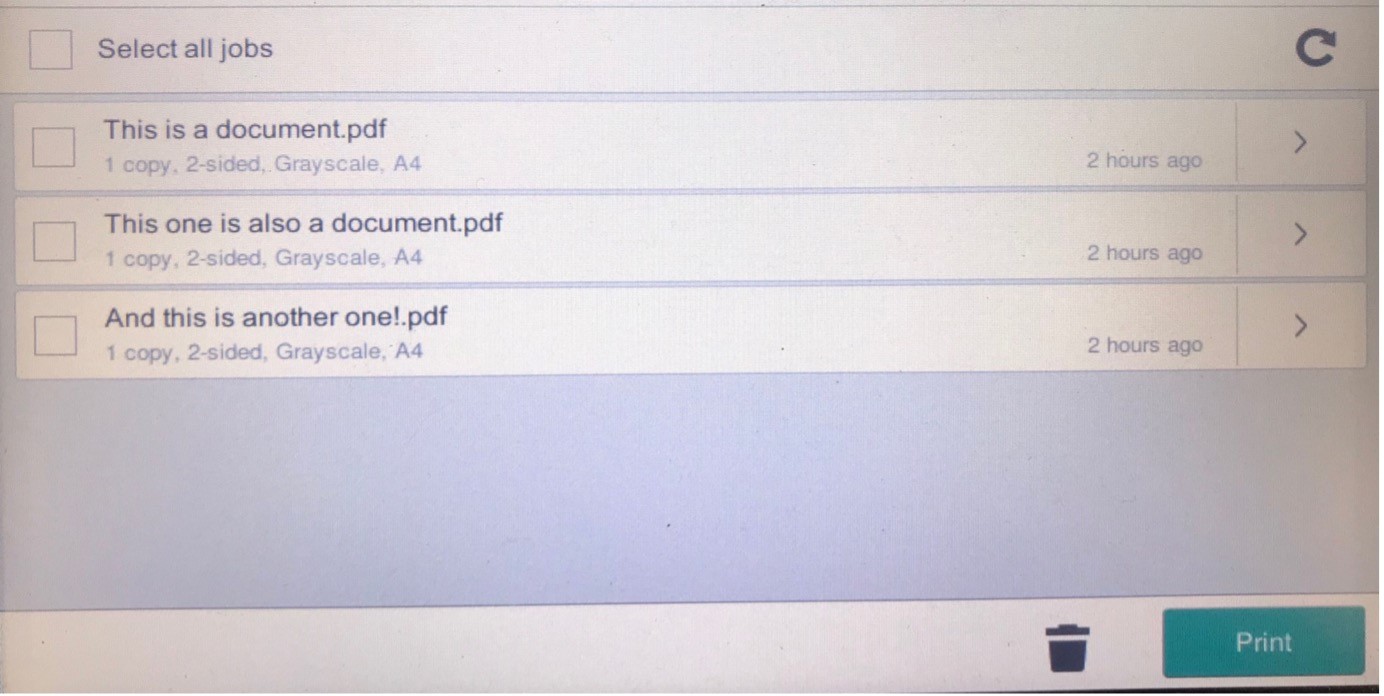
- Select the print job you wish to print.
- Select the print icon on the right-hand side of the screen to print the selected job or press the ‘recycle’ icon (bin) to delete the selected job.
- Alternatively, if you have print jobs pending a ribbon will appear across the top of the screen upon login.
Photocopying and scanning
How to copy
- Enter your username & password and select ‘Log in’.
- Select the ‘Access Device’ icon.
- Select ‘Copy’.
- Place your document on the flatbed scanner, or organise your pages in the document feeder.#
- Select your desired options.
- Enter the number of copies using the numeric keypad.
- Press the ‘Start’ button.
# Only 30 pages at a time may be fed into the scanner, if using the document feeder.
How to scan
- Enter your username & password and select ‘Log in’.
- Select the ‘Scan’.
- Your email will show under ‘To’ (this is defaulted to your student email account).#
- Place your document on the flatbed scanner, or organise your pages in the document feeder.
- Press the ‘Start’ button.
- Select ‘Preview’, ‘Send’ and then ‘Finish’.
Notes
- Scanning is free of charge
- Scan-to-email has a 20MB file size limit
- Only 30 pages at a time may be fed into the scanner if using the document feeder
Contact and support
For any problems or questions with the Student Print service, you can:
- Submit a ServiceDesk at servicedesk@swinburne.edu.my
- Phone x5000 or +6082-255000
Office Hours:
- Monday to Thursday: 8.30am to 5.30pm
- Friday: 8.30am to 12.00pm & 2.00pm to 5.30pm (Office closed from 12.00pm to 2.00pm)